Custom sashiko. Digital stencil files.
Your artwork. Your sashiko stencil.
Follow your drawing’s outlines and details to create a sashiko stitch plan. Download the stencil to print yourself or through a printing service. No physical stencil is shipped.
Drag either divider to compare the original drawing, stitches andprintable stencil. Each divider can travel all the way across and pushes the other divider when they meet. Use arrow keys to adjust a divider, or choose a stage to see it in full.
Stencils fit on build plates up to 184x184mm.
Bring back the little details.
Then the Include brush restores the missed mask areas.
0/3 areas restoredPrepared missing-mask example, recalculated with the same planner as the Workshop. Blue marks were added or repositioned after acceptance. Each state compiles to separate openings with 2 mm clearance; this does not mean every source detail fits. 0/3 mask areas restored. At 2 mm allowance, the completed example matches the hero’s 120-stitch result.
The stencil library.
Find your next stencil in our library.
Find a design you love. Take a closer look at its stitches and stencil, or open a copy in the Workshop to make it your own.
Loading library stencils…
What you’ll need to stitch.
Your purchase is a digital download. No printed stencil, fabric or sewing supplies are shipped. Here’s what to gather next.
First, get your stencil printed.
Use your own 3D printer and suitable filament, or a printing service that accepts STL files. Ask your printer about PLA and settings for a thin stencil.
Find somewhere to printAffiliate links. As an Amazon Associate I earn from qualifying purchases. Links below open Amazon searches so you can compare sizes, colors and sellers.
Bring the basics you already own.
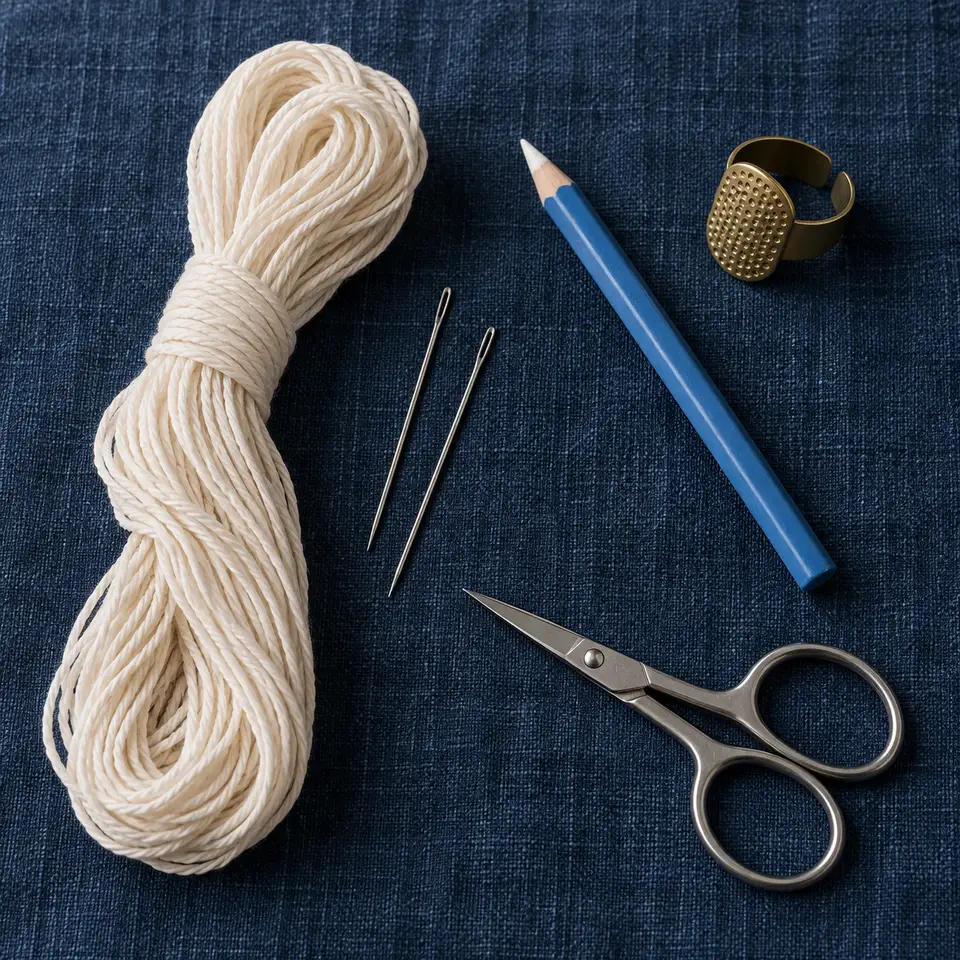
Your fabric or garment, small scissors and a scrap of the same fabric for testing. You don’t need a whole new sewing kit.
A removable fabric marker
Choose a fabric pencil, fine textile marker or chalk liner that contrasts with your fabric. Check that the whole tip can reach through your printed slots.
Compare Sewline fabric pencils or Clover Chaco Liners. Chalk wheels may not reach narrow slots.
Cotton sashiko thread
Choose a color that stands out against your fabric. Olympus cotton sashiko thread is one option to compare in the color and weight your project needs.
Thread is separate from the digital download.
Sashiko needles
A sashiko needle assortment gives you different lengths to work with. Match the needle to your fabric and thread, rather than forcing it through thick layers.
Compare Clover sashiko needle assortments.
A palm or ring thimble
Give the back of the needle a firm pushing surface instead of your bare finger. A ring thimble with a plate is designed for long running stitches.
Choose a comfortable fit. Keep your guiding fingers clear of the sharp needle point.
Before you mark your fabric
Choose one marking tool, not all of them. Test both tip clearance through the printed stencil and complete mark removal on scrap. A fine lead doesn’t guarantee its surrounding tip will fit. No specific pen-and-stencil combination is certified here.
Follow the marker’s fabric instructions. Check removal before marking the whole piece, and remove the stencil before ironing. A thimble provides a pushing surface, not protection from every needle prick. Pause if stitching becomes uncomfortable.
Where to print.
No 3D printer? Start with a library, a local makerspace or a printing service. You bring the digital file; they can tell you what’s possible.
Other places to look
Community directories and printing services. Listings don’t guarantee public access or a suitable printer.
- FabLabs (opens in a new tab)
Explore the international Fab Lab network and contact a nearby lab about equipment and public access.
- Prusa World (opens in a new tab)
Explore a map of the 3D printing community. Check individual profiles for the help or services they offer.
- makexyz (opens in a new tab)
Explore a commercial 3D printing service and request a quote for your file.
What to ask before you book
- Can you print my STL at its original size in millimeters, without scaling it? Check the finished plate dimensions against your printer’s usable bed.
- Can your printer produce this thin stencil and keep the stitch slots and registration holes open? Ask about PLA, thickness and a small test print.
- Do I need a library card, membership, training or an appointment? Will staff print the file, or do I operate the machine?
- What will the complete job cost, how long is the queue, and how do I collect it? If the design is private, ask how uploaded files are stored or shared.
Before you download.
Am I ordering a physical stencil?
No. This is a digital stencil workflow. Download an STL for printing and an editable design.json file for reopening your design. A printer or printing service, filament, and craft supplies are separate.
What does a library purchase cost?
Library checkout offers a one-time $5 public-design purchase or $10 private-design purchase, with no subscription. Review the current checkout total and visibility choice before paying. Sharing publicly requires permission to share the artwork and results.
Which filament should I choose?
Ask your printer or printing service which material suits the geometry and use. PLA and PETG are generally more rigid than flexible TPU, but thickness and print settings also affect bending. We do not yet promise a tested flexible option for curved garments. Do not assume clear filament will produce an optically clear stencil.
Which marking pen will fit?
Choose a removable textile marker that contrasts with your fabric. Test both tip clearance through the printed opening and complete removal on a scrap of the same fabric. A 0.9 mm lead does not guarantee the surrounding tip will fit. No specific pen-and-stencil combination is currently certified here.
Can I use heat-erasable pens?
Follow the marker maker’s fabric instructions and test removal first. We do not recommend FriXion as a fabric marker: Pilot warns against use on fabric. Always remove the stencil before ironing and keep it away from heat.
Can I use pounce powder or sandpaper?
Neither is a verified combination here. Powder transfer depends on opening geometry and may spread beyond the intended marks. Abrasive backing may affect delicate fabrics. Prefer a stable, clean work surface; test any powder, grip backing, or removable tape on scrap first.
Start with a clear image.
Make your stitch plan, check the stencil, and download the files. Print it yourself or with a printing service.